Winter in the Upper Peninsula can be a fun and beautiful time of year. However, it poses dangers for your home. Freezing temperatures, ice, snow, and wind can take a toll on even the sturdiest of homes. Thankfully, some basic winterizing goes a long way toward keeping your house safe and your heating costs down.
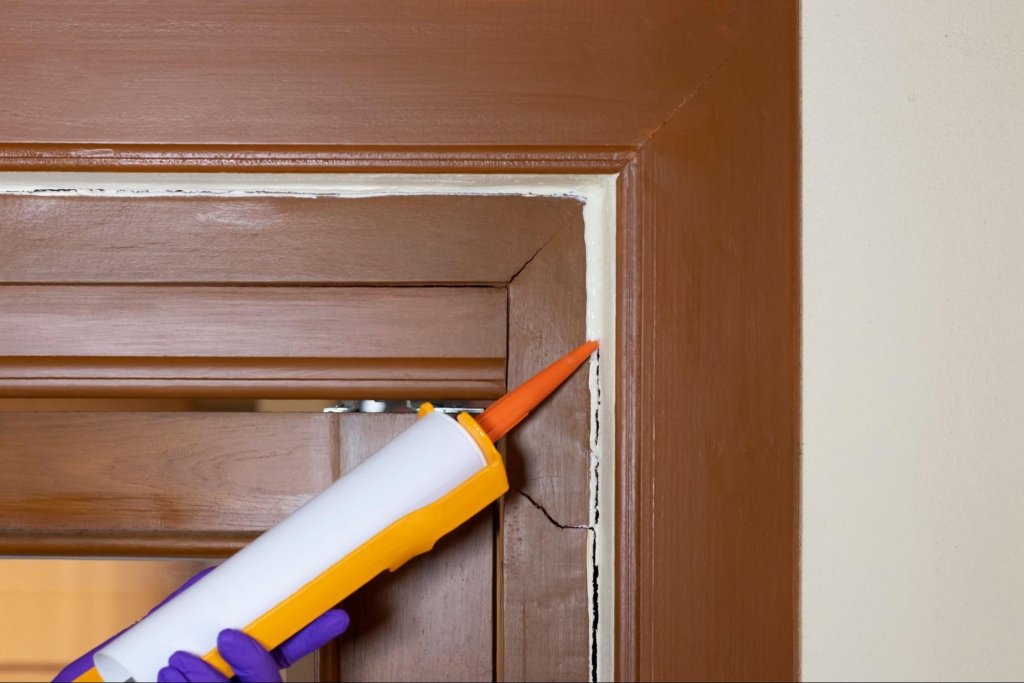
One of the best things you can do to protect your house during the winter is to weatherproof your windows and exterior doors with caulk. Caulk is safe and easy to work with, and it’s a great way to seal gaps. In this blog, we’ll give you some tips on how to winterize your home with caulk. We’ll start with a quick guide to caulk types and caulking tools, then give you an overview of some caulking projects you can do to keep your home safe and warm all winter long.
- Why Winterize Your Upper Peninsula Home?
- Understanding Different Types of Caulk
- Tools and Materials You’ll Need
- Step-by-Step: How to Apply Caulk to Doors and Windows
- Local FAQ: The Upper Peninsula Winter Caulking Guide
Why Winterize Your Upper Peninsula Home?
Properly winterizing your windows and doors is a huge step you can take towards protecting your home during rough winter weather. It will prevent moisture damage that can lead to mold, warping and rotting. Winterizing your doors and windows also keeps out the cold. You and your family will be far more comfortable in a warm, well-sealed house. Ultimately, all of these things will save you money, too. After all, a house free of drafts is much cheaper to heat.
Understanding Different Types of Caulk
Different types of caulk have their strengths, weaknesses, and best use cases. The most common types of caulk are polyurethane, silicone (or acrylic + silicone), and butyl rubber caulk.
| Caulk Type | Best Uses in UP Climate | Pros | Considerations |
| Polyurethane | Exterior gaps around vinyl siding, wood trim, doors/windows exposed to strong winds from Lake Michigan or Lake Superior | Very durable, paints well, great adhesion, warp resistant, cold resistant | Needs careful surface prep, takes longer to cure in cold weather |
| Silicone (or Acrylic + Silicone) | Around window panes, frames, interior trim, moist areas (bathrooms, kitchens) | Flexible, good for extreme temperature swings, moisture resistant | More expensive, some don’t paint over well |
| Butyl Rubber | Exterior joints; flashing; siding joints; areas frequently exposed to wet snow or runoff | Extremely waterproof, sticks well to rough surfaces | Less pliable in very cold temperature, sometimes less attractive finish |
Tools and Materials You’ll Need
- Quality caulk from a reputable brand (ask for winter-grade polyurethane or silicone caulk
- A good caulk gun (with a smooth, controllable trigger)
- Wire brush or scraper to remove old caulk, dirt, and peeling paint
- Damp cloths or sponges for cleanup
- A spatula or caulk finishing tool to create smooth lines
- Optional: gloves, safety glasses
If you live in the Upper Peninsula, Astro UP in Rock, Michigan carries a variety of caulks and caulking supplies to help you get the job done. We strongly recommend DAP caulk. After years of experience in the building materials business, we’ve found DAP to be a top brand that delivers excellent results at a great price.
Step-by-Step: How to Apply Caulk to Doors and Windows
- Inspect all doors and windows for drafts or leaks.
- On a windy day, walk around the inside of your home and feel for cold air, especially near the windows and doors.
- Light a candle, incense stick, or match. Carefully hold it near windows and doors. If the flame flickers or goes out, you may have drafts or leaks.
- Prepare the surface
- Once you’ve found windows and/or doors to target, start by removing any old, cracked, or peeling caulk. Use a wire brush or paint scraper.
- Clean the surface to clear it of any dust, dirt, or moisture. Let it dry completely after cleaning.
- Select the right type of caulk depending on the size of the gap, building material (such as wood, vinyl, or aluminum), and whether or not you want to paint over the caulk.
- Load the caulk gun.
- Cut the caulk tube nozzle at a 45 degree angle. Size the hole to match the width of the gap you need to caulk over.
- Press the release trigger on the caulk gun and pull back the metal rod that runs through the body of the gun. Place the caulk tube in the caulk gun. Push the metal rod back into place.
- Test the caulk gun on a piece of cardboard to get used to using it.
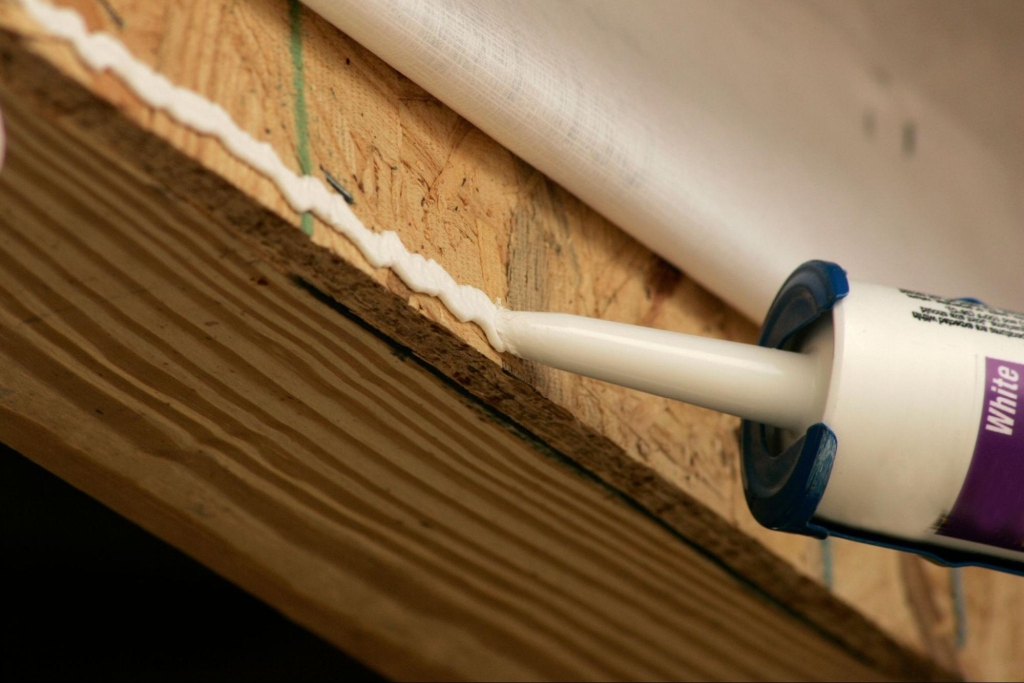
- Apply caulk smoothly.
- Apply steady, even pressure to the caulk gun to push the caulk bead into the joint.
- Smooth out the caulk bead with your finger, a tool, or a damp cloth.
- Clean up and finish.
- Remove excess caulk immediately.
- Let the caulk cure. Cold temperatures will make curing slower, so follow the manufacturer’s directions. Be sure to let it cure completely. If you can, do your caulking project on a milder day before winter really sets in.

Local FAQ: The Upper Peninsula Winter Caulking Guide
When is the best time to caulk in the Upper Peninsula?
In the fall, ideally before the first freeze or snow. Late September and October are good dates to aim for. Depending on what brand of caulk you buy, the tube may state ideal temperatures for caulk application. In general, above 40 degrees is best.
Will caulk stick if there is frost or moisture?
No. Surfaces should be totally dry and frost-free. Pick a day when the weather is mild and be sure to clean and dry the area you want to caulk before you apply the product.
How long does caulk take to cure in the cold?
It depends on the product. Polyurethane and silicone caulks may take longer to cure in low temperatures. Check the information on the caulk tube. Manufacturers may specify cure times in different temperatures. Plan at least several hours to a day for caulk to cure in colder temperatures.
Complete Your Winterizing Project With Help From Astro UP in Rock, MI
Winter can be a tough season for homeowners, especially if you live somewhere that’s particularly cold and snowy–but it doesn’t have to be! In fact, here at Astro UP in Rock, Michigan, we think that winter should be fun. Winterizing your home with DAP Caulk will help you stay warm and save money on energy bills so you can spend less time worrying and more time skiing, skating and snowmobiling with your family.
When you’re ready to start your caulking project, pay us a visit! Our expert staff will help you pick out all the right tools for the job.