
Summer is the ideal season for exterior home inspections in Michigan. When months of ice, snow, and freezing temperatures finally come to an end, naturally we all want to rush outside. But summer is also the best time to make sure winter didn’t do any lasting damage to your home. Between freeze-thaw cycles, high winds, and heavy loads of ice and snow, Michigan winters can take a toll on even the best-built homes. The most important exterior areas to inspect during summer are siding, windows, decks, and exterior doors.
Seasonal inspections are vital to keeping your home in great condition. You don’t have to break the bank on a professional inspector or waste a whole summer weekend combing through every corner of your house. Use this handy checklist from Astro UP–Rock, Michigan locals who know exactly what UP winters (and summers!) are like–to help guide you through an easy but comprehensive home inspection that saves you time and money. In this guide, we’ll tell you how to inspect your siding, windows, decks, and doors to make sure they’re summer-ready.

Summer Siding Inspection Checklist
A summer window inspection should include checking for loose or cracked boards, mold, stains, signs of pests, and damaged caulking.
Look for Cracks, Warping, or Loose Boards
Temperature swings can cause vinyl siding boards to expand and contract. We’ve all experienced those days, especially in the fall and spring, where it feels like Michigan can’t decide what season it is!
Your siding hates those drastic temperature changes just as much as you do. Take a walk around the outside of your house and check for cracks in the siding, warped boards, or loose boards. These are all signs that winter took a toll on your home’s exterior.
Check for Mold, Mildew, and Moisture Stains
Moisture can have a big impact on siding. Between ice, snow, and winter humidity, many homes sustain some moisture damage over the winter. As you inspect your siding, be sure to check for signs of mold or mildew.
Mold and mildew can look like streaks, small dots, or fuzzy patches. It’s usually a shade of green, brown, or black. Most of the time, mold and mildew on your siding is not a sign of severe damage–it just means your siding needs a good clean.

Inspect Caulking and Seams
As you check for damage to siding boards, keep an eye out for damage to the corners and trim. Check any areas with caulk to ensure the caulk is holding up. Also look out for any damage to the seams (the points where two pieces of siding meet). Siding seams are crucial components that prevent moisture, cold air, and pests from intruding into your home.
When seams begin to deteriorate, repair is crucial. If you notice signs of wear, you may need to caulk the area or consider replacing the boards.
Monitor for Pest Damage
Certain types of siding–like wood siding–are more susceptible to pests, while other types–like vinyl siding–are more pest-resistant. But regardless of your siding type, it’s smart to check for pest damage. During the winter, pests may try to dig their way into your home to escape the cold.
As you walk the perimeter of your house, check for gaps or holes in the siding. When it comes to insects and rodents, it’s important to catch problems early before they spiral out of control.
Summer Window Inspection Checklist
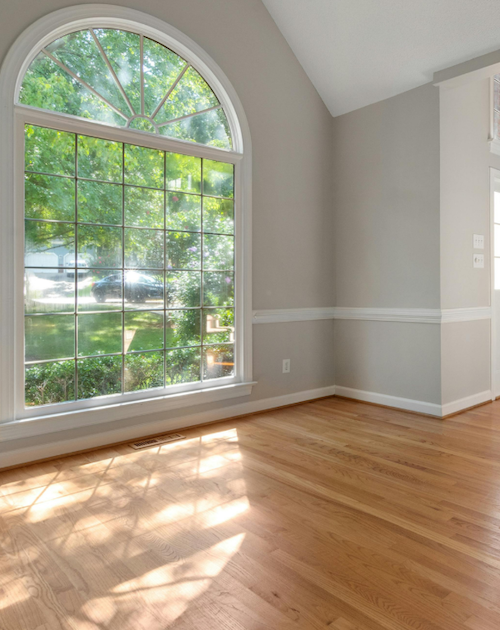
A summer window inspection should include checking for drafts, damaged caulking, condensation between panes, soft wood, and sticky locks.
Inspect Frames for Rot or Soft Spots
Your window frames need to be intact to keep your windows sealed and functional. So, take a moment to check the frames for any signs of damage. This is especially important if you have wood window frames.
When wood gets too saturated with moisture, it will weaken and rot, ruining your window’s seal. Rotted frames will look and feel spongy or crumbly. Give your window frames a poke to make sure they’re still up to par.
Look for Failed Seals or Condensation
Rot is usually pretty obvious, but other forms of window damage may not be as visible. One of the best ways to determine if a window seal has failed is to look for condensation. Check for fog or water droplets between window panes.
If you aren’t sure whether the condensation is between panes or on the outside of the window, wipe it with a cloth to test. If the condensation doesn’t wipe away, it’s trapped between panes–which means there’s a problem with your window seal.
Finally, from indoors, stand in front of each window and make sure you don’t feel any outside air leaking through. A draft is a sure sign of a failed seal.
Test Locks and Hardware
It’s less common for weather to damage window locks. Still, for obvious reasons, you should regularly check to make sure window locks are still working properly. A broken lock can be a major safety concern.
Check Exterior Caulking
Exterior caulking around windows helps keep seals tight. An improperly sealed window can’t keep out summer humidity or winter chill. Not only will that make your home uncomfortable, but it will also cost you money in energy bills. So, during your summer inspection, take a look at your caulking and see if you need any spot repairs.
Summer Deck Inspection Checklist
Summer is deck season, but look things over before you put your deck to good use. A summer deck inspection should include checking for loose boards, rot, rust, mold, and debris.
Check for Loose Boards and Railings
This one is obvious. You don’t want to let anyone out on the deck if there is any risk of falling. Before you haul out the grill, carefully inspect the deck for any signs of loose boards or wobbly railings.
Inspect for Rot, Splintering, or Soft Wood
This is necessary if you have a traditional wood deck. Over time, moisture will take its toll. Rotted wood decking will feel soft and spongy. Don’t just check the main deck boards. Be sure to inspect stair treads, joists, and ledger boards, too.
Another potential issue is splintering. Decks splinter as the wood constantly contracts and expands due to freeze-thaw cycles. While splintered boards are not a sign the wood is rotten, splinters still pose a safety hazard. You’ll want to take care of them before you invite any guests onto the deck.

Look for Rusted Nails, Screws, or Fasteners
Once again, winter moisture is to blame for this common problem. Rusty nails, screws, and fasteners indicate water damage. If they get rusty and deteriorated enough, they can pose a structural issue, so be sure to monitor nails, screws, and fasteners for any new or worsening damage.
Clean Off Mold, Algae, and Debris
Mold, algae, and debris are easy to check for–and usually, pretty easy to deal with. Still, this is an important step in your summer inspection. Regular cleaning keeps your deck safe and looking nice.
Summer Door Inspection Checklist
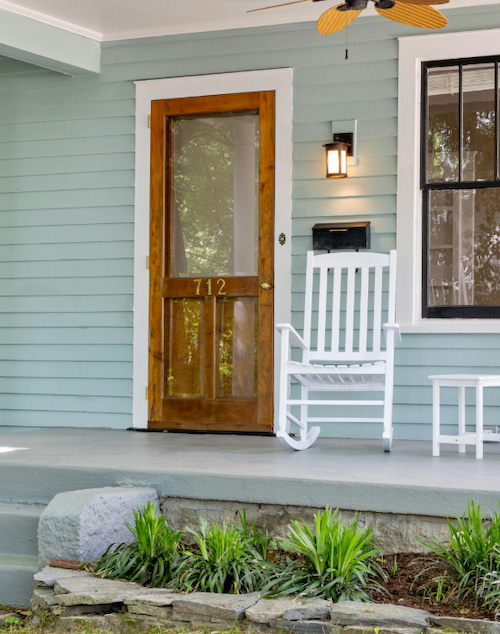
A summer exterior door inspection should include checking weatherstripping, inspecting thresholds and door frames, testing door security, and monitoring for gaps and drafts.
Check Weatherstripping for Gaps
The weatherstripping around your door is almost as important as the door itself. It keeps out moisture, pests, and weather, and it prevents warm air from leaking out of your home. Weatherstripping can be damaged during any season, but summer is an ideal time to check and make sure your doors are well sealed–before pests, insects, and summer rains make their way into your home.
Inspect Thresholds and Door Frames
Common culprits for winter door damage include moisture and impacts–for instance, kicking the threshold to get snow off your boots or slamming the door as you run in from the cold. Check door frames and thresholds for rot, cracks, and other signs of degradation.
Test Hinges, Locks, and Closers
Doors can expand and contract as temperatures change. Test out the exterior doors around your home to make sure they still fit their frames properly, and lock (and unlock) easily.
Look for Drafts or Light Around Edges
Now it’s time to head indoors and check for drafts–just like you did with your windows. Also look for light sneaking through any gaps in the doorframe. Both are signs that your door is not properly fitted to (or sealed in) its frame.
When to Repair vs. Replace Exterior Features
Most minor winter weather damage is repairable. But over time, wear and tear accumulates. Here’s a quick guide to determining what can be repaired versus what should be replaced.
Repair
- Cosmetic damage. Issues like stripped paint or patches of mold on vinyl siding can be repaired. No need to tear up the house and start over!
- Damage to newer materials. Siding, windows, decking, and doors you installed in the past five years? Usually pretty easy to repair. But if the materials are ten, fifteen, or twenty years old? It might be best to replace them.
- Localized damage. One cracked siding board or a small section of loose deck railing can almost certainly be repaired rather than replaced. But if the damage is widespread–for instance, a large section of warped siding or an entirely rotted window frame–then it’s time for a replacement.
Replace
- Structural damage. Structural damage isn’t just unsightly–it’s a safety hazard. Plus, it causes a domino effect. Warped siding allows moisture into your walls; moisture in your walls will damage the frame of your house, and so on. Replacing structurally damaged components now stops the issue from spiraling out of control and becoming more dangerous–and more expensive–down the line.
- Older materials. At some point, your doors, decking, siding, and windows become too old to repair. Keep track of when you install different components of your house, and pay attention to each object’s warranty. After a while, replacement becomes your best bet.
- Energy-inefficient materials. Speaking of old materials–they’re usually not as energy efficient as the materials we have today. Old wooden windows, for instance, pale in comparison to modern vinyl windows in terms of comfort and efficiency. While repair may seem cheaper than replacement in the short term, it could save you tons of money on energy bills in the long term.
If you have any questions about damage to your home–and whether you should repair or replace things–talk to a local building supply expert, like the folks at Astro UP. Local suppliers can give you expert advice and set you up with products suited for Upper Peninsula weather.
A Complete Summer Home Inspection Checklist
Siding
 Look for cracks, warping, or loose boards
- Check for mold, mildew, and moisture stains
- Inspect caulking and seams
- Monitor for pest damage
Windows
- Inspect frames for rot or soft spots
- Look for failed seals or condensation
- Test locks and hardware
- Check exterior caulking
Decks
- Check for loose boards and railings
- Inspect for rot, splintering, or soft wood
- Look for rusted nails, screws, or fasteners
- Clean off mold, algae, and debris
Doors
- Check weatherstripping
- Inspect thresholds and door frames
- Test hinges, locks, and closers
- Look for drafts or light around edges
Get Ready for Summer with Quality Building Supplies in Rock, MI
Seasonal inspections help you keep your home safe, attractive, and ready for summer. Proactive maintenance doesn’t have to be time-consuming or expensive. Plus, catching problems while they’re still minor can save you lots of time and money in the long run.
Hopefully, this checklist will help you get your home ready for months of summer fun. If you have any questions or need any supplies to get your home in tip-top shape, come visit your local building supply experts at Astro UP in Rock, MI! Our team can help you choose high-quality siding, decking, sealants, fasteners, and other exterior repair supplies.
FAQ
What should homeowners inspect during the summer?
Inspect the exterior of the home, paying special attention to siding, windows, exterior doors, and (if applicable) decking.
How often should siding be inspected in Michigan?
Siding should be inspected at least once a year–ideally after the winter, since winter weather takes a toll on your home’s exterior.
When should exterior doors be replaced?
Replace exterior doors when there is structural damage to the frame, when they no longer fit the frame, when they’re rotted, or when they no longer open, close, or lock properly.
What are signs of deck rot?
Spongy, soft, or crumbly patches of wood are all signs of deck rot and should be replaced as soon as possible to keep the deck safe and functional.
Why do windows fog between panes?
Fog between window panes is trapped condensation. It indicates that your window seal has failed and should be repaired or replaced quickly to prevent further damage to your home.