‘Tis the season of ice and snow! Winter can be a fun and beautiful time of year, filled with plenty of outdoor activities and beautiful scenery. However, it can also be a dangerous season for your house. Thankfully, some basic winterizing will keep your home safe from potential weather damage and keep your heating costs down so that you can enjoy the season with your family.
One of the best things you can do to protect your house during the winter is to weatherproof your windows and doors with caulk. Caulk is a material used to seal gaps in building materials or help bond them together. If you’ve done repairs on your home before, you’ve likely used it. If not, don’t worry–it’s quite easy to work with.
In this blog, we’ll give you some tips for how to winterize your home with caulk. We’ll start with a quick guide to caulk types and caulking tools, and then give you an overview of some caulking projects you can do to keep your home safe and warm all winter long.
- Why Winterize Your Doors and Windows?
- Understanding Different Types of Caulk for Winterization
- Essential Tools and Materials for Caulking Your Home
- How to Apply Caulk
- Step-by-Step Guide to Winterizing Doors and Windows
- Complete Your Winterizing Project With Help From Astro UP in Rock, Michigan!
Why Winterize Your Doors and Windows?
Properly winterizing your windows and doors is a huge step you can take towards protecting your home during rough winter weather. It will prevent moisture damage that can lead to mold, warping and rotting. Winterizing your doors and windows also keeps out the cold. You and your family will be far more comfortable in a warm, well-sealed house. Ultimately, all of these things will save you money, too. After all, a house free of drafts is much cheaper to heat.

Understanding Different Types of Caulk for Winterization
Butyl Rubber Caulk: Butyl rubber caulk is ideal for sealing exterior surfaces such as gutters, pipes, aluminum and vinyl siding and corrugated roofing. It is waterproof and incredibly resistant to the elements. Plus, it works well on common exterior building materials like wood, aluminum, concrete and stone. It’s flexible and easy to work with, allowing you to get into tight gaps.
Polyurethane Caulk: Like butyl rubber caulk, polyurethane caulk is watertight and can withstand harsh weather conditions without corroding. It can be used for indoor and outdoor projects on materials including metal, plastic, masonry and roofing. It’s also the right caulk to use on any areas you want to paint over, as you can’t paint over silicone caulk.
Silicone Caulk: Silicone caulk is best for interior areas of the house which are exposed to moisture. It’s commonly used in bathrooms, around windows, and on plumbing fixtures. It can be applied to many common household materials, including glass, ceramic, porcelain and wood. For sealing gaps and cracks around windows, look for a caulk that combines silicone and acrylic. The label may say something like “acrylic plus silicone.”
Essential Tools and Materials For Caulking Your Home
The first thing you’ll need to winterize your doors and windows is a quality brand of caulk. We recommend DAP caulk. After years of experience in the building materials business, we’ve found DAP to be a top brand that delivers excellent results at a great price.
To best apply the caulk, you’ll need a caulk gun. You will also want a putty scraper or wire brush to help prep the area you plan to caulk, and a damp cloth or spatula tool to help you clean up any spills or excess product.
How to Apply Caulk
To apply caulk, you should ideally use a caulk gun. Caulk guns are easy to work with and help you evenly, accurately apply the product. Most caulk guns will include instructions for how to use them, but the basic procedure is as follows:
- Cut open the tube with scissors. Tailor the size of the hole to the project you’re working on–cut a smaller hole for projects that require a thinner line of caulk, and a larger hole for projects that will require more caulk.
- If the caulk tube has an internal seal, carefully poke through it with a sharp object such as a pin or the tip of your scissors.
- Press the release trigger on your caulk gun and pull back on the metal rod that runs through the body of the gun. Pull it all the way back, then insert your caulk tube with the nozzle at the front of the gun. Finally, gently push the metal rod back into place. Push it as far as it will go without forcing it.
- It’s a good idea to test your caulk gun on a piece of cardboard or paper before jumping right into your project. Apply steady pressure to the trigger and move the caulk gun in a straight line to get a feel for how to use it.

Step-by-Step Guide to Winterizing Doors and Windows
Once you feel comfortable operating your caulk gun, it’s time to winterize those doors and windows. Sealing gaps in your doors and windows with quality caulk will keep the heat in, and the cold and snow out.
A note on cure time: Caulk won’t become effective instantly. It needs a bit of time to cure (dry and set). The caulk’s cure time should be listed on the bottle. Always check the cure time before you apply the product so that you can plan out your caulking project appropriately.
- The first step is to inspect doors and windows for any drafts, gaps or leaks. To test this, you can (carefully) hold a candle or incense stick near the window or door and see if the flame blows out. You don’t need to inspect interior doors, because they don’t have to keep out the cold. However, be sure to check all of the other doors and windows around your home.
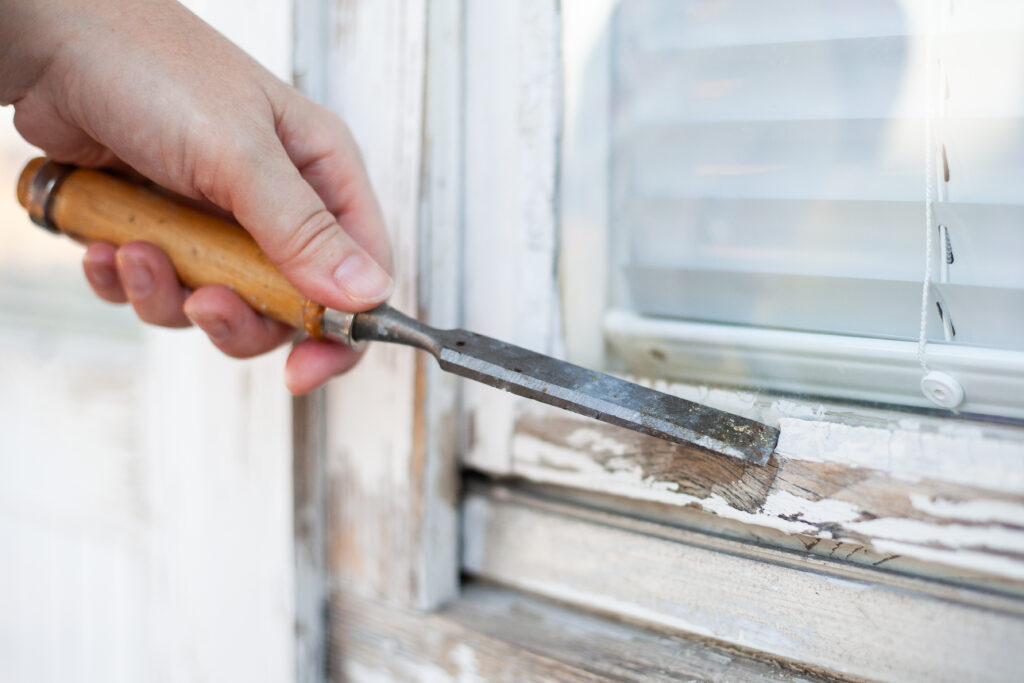
- Once you’ve found the areas that could use some improvement, it’s time to prepare the surfaces for caulking. This is a very important step–don’t skip it! Caulk will be ineffective when applied to a dirty or unprimed surface. Remove any old caulk or paint with a putty scraper or wire brush, and wipe down the surface to make sure it is free of dust and grease.
- Prepare and load your caulk gun.
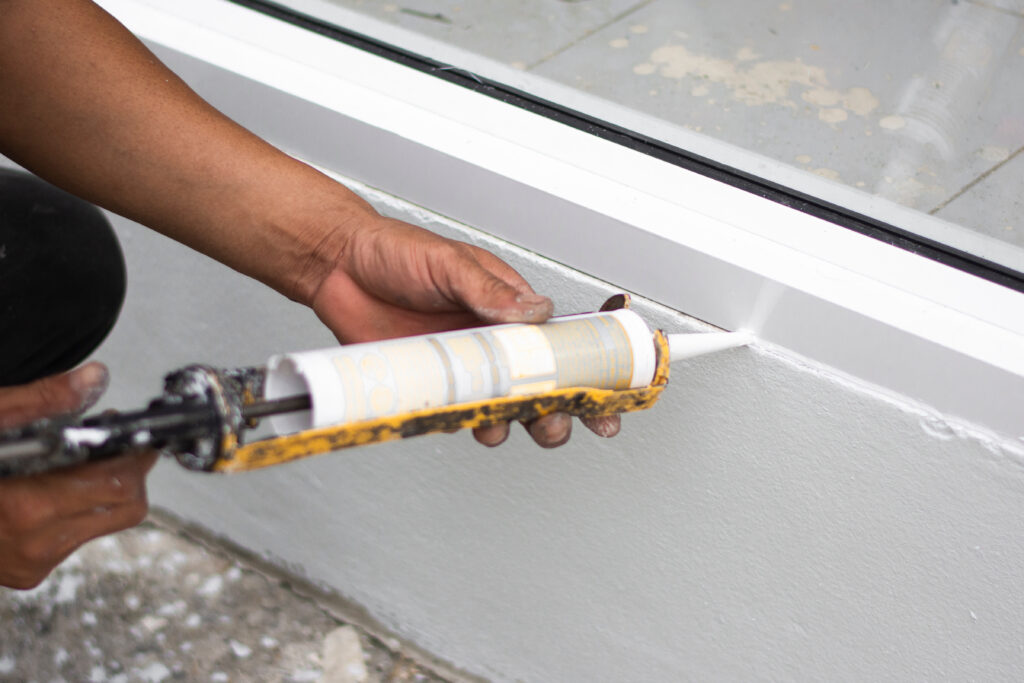
- Apply your caulk. Use steady pressure against the trigger and move the nozzle in one smooth motion along any gaps or cracks. Immediately wipe any excess product away with a spatula tool or a damp cloth.
- Allow the caulk to cure.
Complete Your Winterizing Project With Help From Astro UP in Rock, Michigan!
Winter can be a tough season for homeowners, especially if you live somewhere that’s particularly cold and snowy–but it doesn’t have to be! In fact, here at Astro UP in Rock, Michigan, we think that winter should be fun. Winterizing your home with DAP Caulk will help you stay warm and save money on energy bills so you can spend less time worrying and more time skiing, skating and snowmobiling with your family.
When you’re ready to start your caulking project, pay us a visit! Our expert staff will help you pick out all the right tools for the job.